


Description
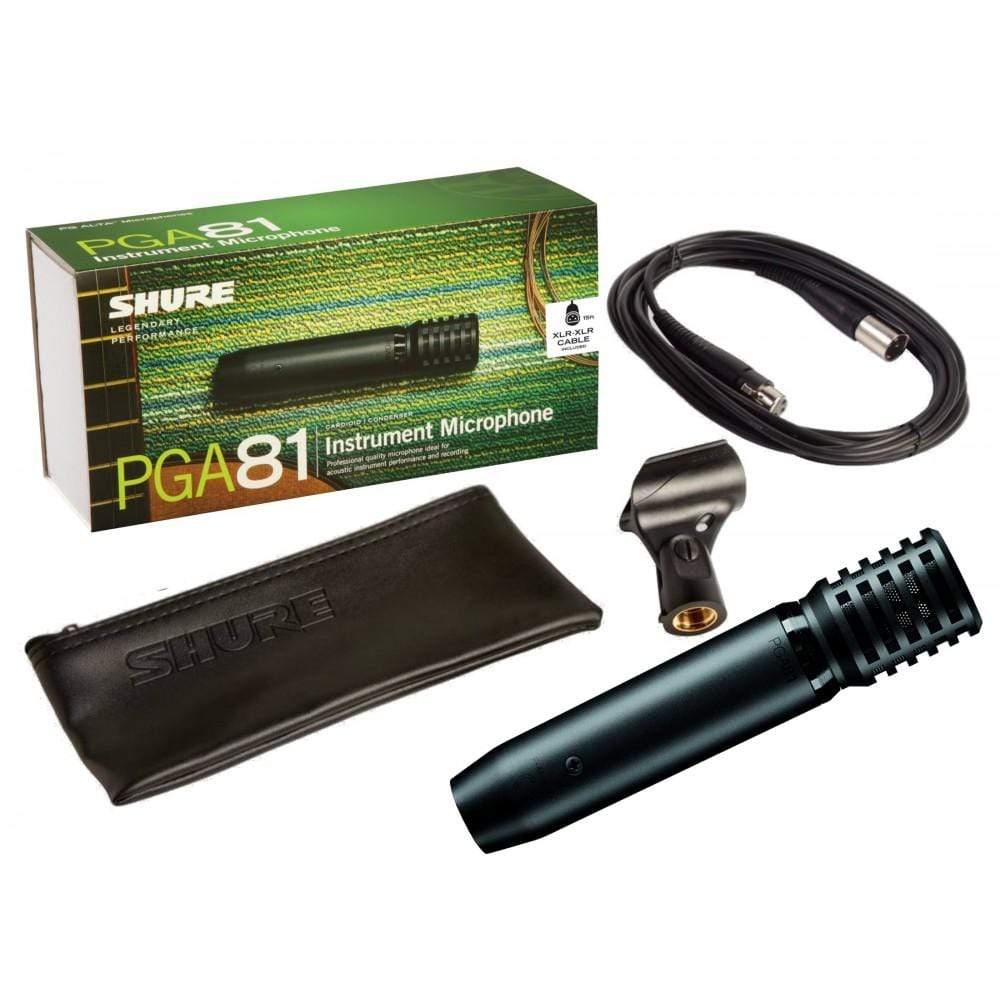
The PGA81 is ideal for use in sensitive acoustic instrument performance and recording. Available with and without a cable.
PRODUCT DETAILS
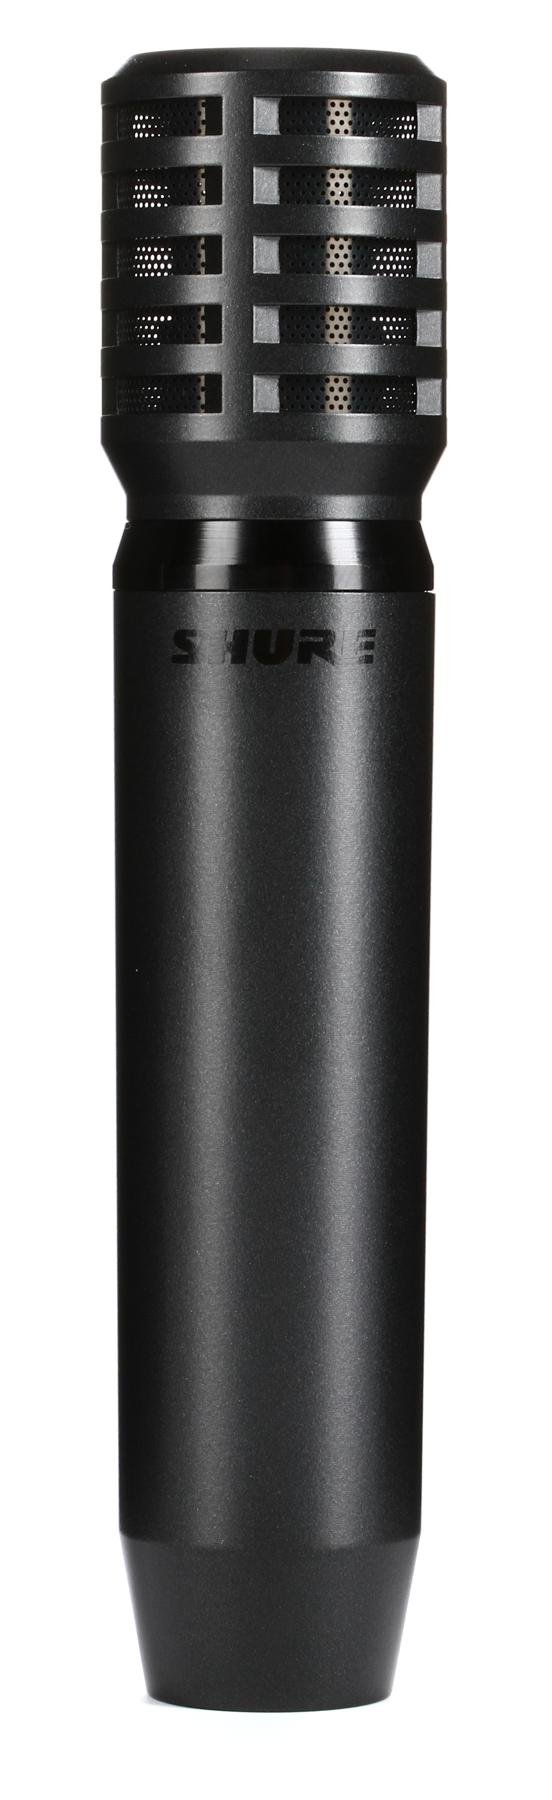
The PGA81 is a professional quality instrument microphone with an updated industrial design that features a black metallic finish and grille offering an unobtrusive visual presence. Legendary Shure quality construction ensures exceptional performance in rigorous environments.
- Flat-response microphone cartridge design for clear reproduction of acoustic instrument sound sources in more sensitive environments.
- Cardioid polar pattern picks up audio from the source while rejecting unwanted noise
- Updated industrial design with black metallic finish and grille for unobtrusive visual presence
- Available with XLR Cable (4.57 m)
- Stand adapter for mounting to a microphone stand
- Zipper pouch included for additional protection during storage or transport
- Legendary Shure quality design and construction for exceptional performance in rigorous environments
General Rules for Use
- Do not cover any part of the microphone grille with your hand, as this will adversely affect microphone performance.
- Aim the microphone toward the desired sound source (such as the talker, singer, or instrument) and away from unwanted sources.
- Place the microphone as close as practical to the desired sound source.
- Work close to the microphone for extra bass response.
- Use only one microphone to pick up a single sound source.
- For better gain before feedback, use fewer microphones.
- Keep the distance between microphones at least three times the distance from each microphone to its source (“three to one rule”).
- Place microphones as far as possible from reflective surfaces.
- Add a windscreen when using the microphone outdoors.
- Avoid excessive handling to minimize pickup of mechanical noise and vibration.
Phantom Power
All condenser microphones require phantom power to operate. This microphone performs best with a 48 V DC supply (IEC-61938), but it can operate with lower voltages.
Phantom power is provided by the mixer or audio interface that the microphone is connected to, and requires the use of a balanced microphone cable: XLR-to-XLR or XLR-to-TRS. In most cases, there is a switch or button to activate the phantom power. See the user guide for the mixer or interface for additional information.
Proximity Effect
Directional microphones progressively boost bass frequencies as the microphone is placed in closer proximity to the source. This phenomenon, known as proximity effect, can be used to create a warmer, more powerful sound.
Avoiding Pickup of Unwanted Sound Sources
Place the microphone so that unwanted sound sources, such as monitors and loudspeakers, are directly behind it. To minimize feedback and ensure optimum rejection of unwanted sound, always test microphone placement before a performance.

Recommended Loudspeaker Locations for Cardioid Microphones
Applications
The following table provides a basic starting point for several instruments. Shure offers additional educational publications on microphone placement and recording techniques. Visit www.shure.com for more information.
| Application | Distance from source | Tips |
|---|---|---|
| Acoustic guitar | 6-12 inches (15-30 cm) | Place near the sound hole for a full sound, or near the 12th fret for a balanced, natural sound. |
| Drums | 3-6 feet (1-2 m) | Place in front of the drum kit to capture more of the kick drum, or as an overhead (above the kit, facing down) to capture more cymbals. Consider using additional Shure microphones placed on individual drums for more mixing flexibility and a thicker sound. |
| Amplifiers | 1-6 inches (2-15 cm) | Aim towards the center of the speaker for a clear, aggressive sound, or towards the edge of the speaker for a mellow sound. |
| Strings or horns | 1-6 feet (30 cm - 2 m) | For a single instrument, place the microphone close to the source. For a horn or string section, arrange players at an equal distance from the microphone. |
| Full band | 3-10 feet (1-3 m) | Face the microphone towards the group, centered between instruments. |
| Auxiliary percussion (congas, tambourine, etc.) | 6-12 inches (15-30 cm) | Aim the microphone away from other instruments on stage for better isolation. |
Tip: Close microphone placement results in a full sound due to the proximity effect. Placing the microphone farther from the source results in more room ambience.
Microphone Techniques for Stereo Recording
Stereo recording using two microphones adds realism by capturing sound similar to the way that humans hear. Panning (directing the signals left and right) adds width and directionality when listening on stereo systems or headphones.
Tip: Panning the signals farther apart increases stereo separation and width. Be careful of panning too far, as it may result in a hollow sound in the middle of the stereo field.
|
① X-Y Coincident Pair |
The X-Y technique provides excellent phase coherency because sound arrives simultaneously at both microphones.
Placement: Set up the microphones with the capsules close together, but not touching. Experiment with angles between 90 and 120 degrees to capture the full width of the source.
|
|
② ORTF |
Developed as a French broadcasting standard, ORTF technique replicates the spacing and angle of human ears. It provides a natural, wide sound.
Placement: Angle the microphones at 110°, with the capsules 17 cm apart.
|
|
③ A/B Spaced Pair |
Spaced pair recording can deliver a dramatic stereo effect because sound arrives at each microphone at a slightly different time, providing the listener with timing cues that localize sounds.
Note: For drum overheads, the snare drum should be equidistant from each microphone to achieve a tight, focused sound. Use a measuring tape or piece of string to verify this distance. |


Specifications
Type
Electret Condenser
Polar Pattern
Cardioid
Frequency Response
40 to 18,000 Hz
Output Impedance
at 1 kHz, open circuit voltage
600 Ω
Sensitivity
at 1 kHz, open circuit voltage
-48.5 dBV/Pa[1] (3.8 mV)
Maximum SPL
1 kHz at 1% THD, 1 kΩ load, typical
129.5 dB SPL
Polarity
Positive pressure on diaphragm produces positive voltage on pin 2 with respect to pin 3
Connector
Three-pin professional audio (XLR), male
Weight
186 g (0.4 lbs)
Housing
Cast Zinc
Power Requirements
48 V DC phantom power (2.0 mA)
[1] 1 Pa=94 dB SPL

Frequency Response

Polar Pattern
Payment & Security
Your payment information is processed securely. We do not store credit card details nor have access to your credit card information.
